
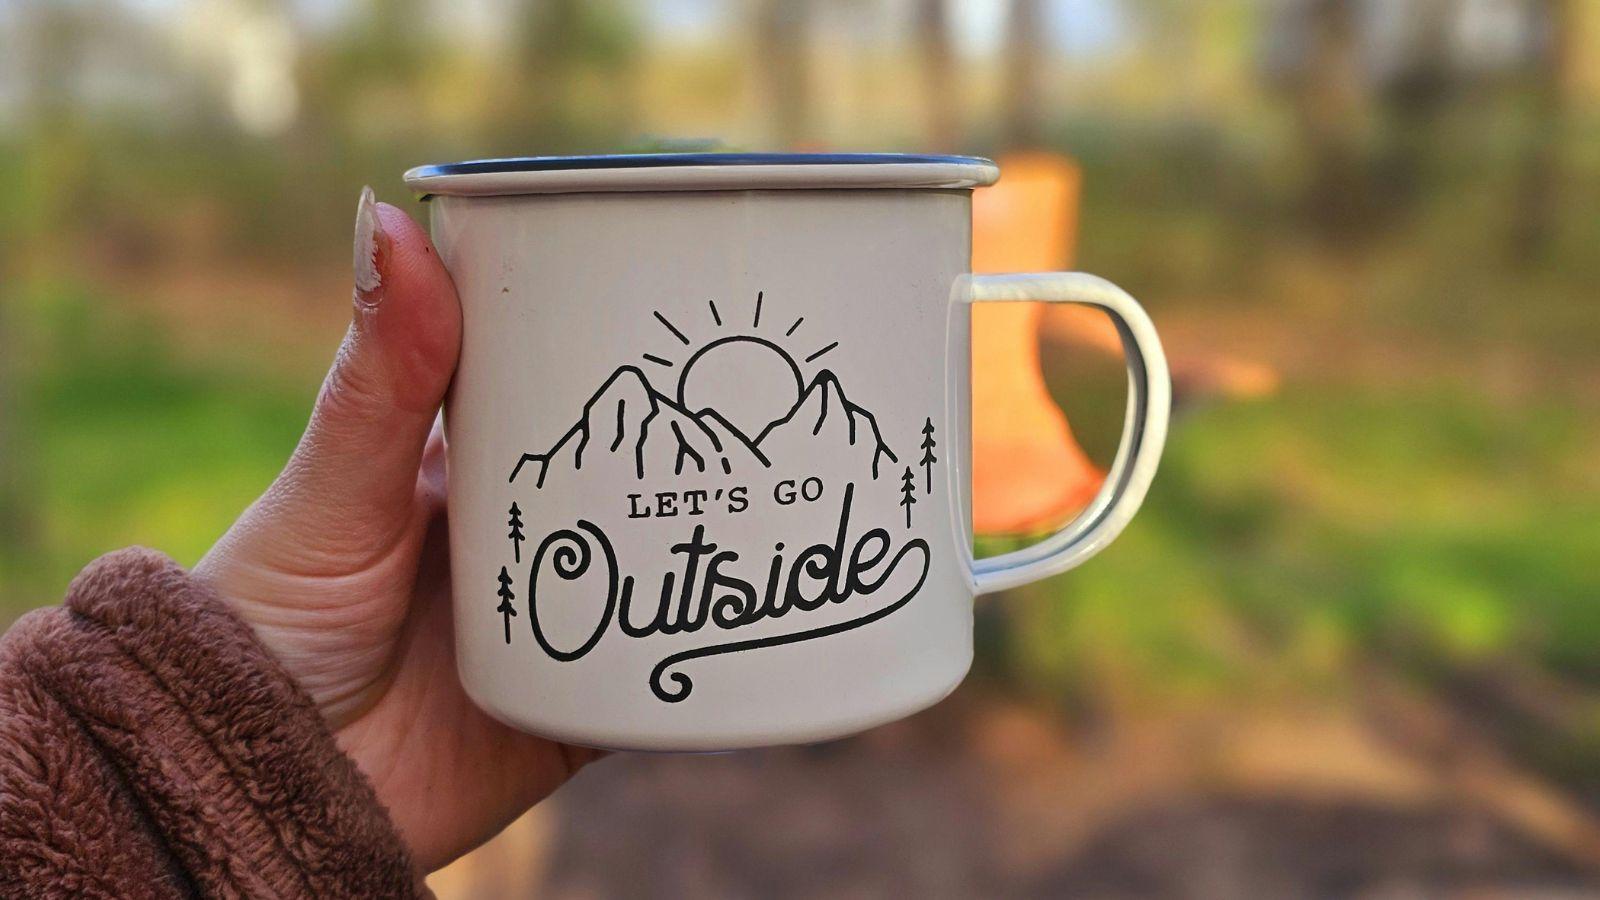
Custom mugs remain a common format for gifts, event merchandise, classroom keepsakes, and branded products. Because mugs are cylindrical and handled frequently, layout decisions must account for curvature, print zones, and durability.
Drag-and-drop custom mug tools simplify this process by combining templates, layout controls, and export settings in one interface. Instead of building files from scratch, users can place text and graphics directly into pre-sized layouts designed for ceramic printing.
For beginners, this reduces sizing and formatting errors. For small teams and creators, it streamlines repeatable workflows such as adapting a logo across different mug sizes.
Adobe Express offers an accessible entry point because it provides mug templates and editing tools within a structured layout environment suited for print production.
Table of Contents
ToggleStep-by-step how-to guide for using Drag and Drop Custom Mugs
Step 1: Choose the mug format and start with a sized template
Goal
Match your design canvas to the mug’s printable area before adding artwork.
How to do it
- Confirm mug type (11 oz, 15 oz, wraparound, or two-sided print).
- Review printable dimensions and safe zones from the print provider.
- Begin with a mug-specific template rather than a blank file.
- Replace placeholder text and images to test spacing.
- Keep primary elements centered within the safe print area.
What to watch for
- Non-printable zones near the handle can affect alignment.
- Wraparound designs require careful margin planning.
- Small text may distort slightly when printed on curved surfaces.
Tool notes
- The custom mug designer from Adobe Express provides pre-sized templates that help prevent scaling and margin errors.
- If sharing print specifications with collaborators, Microsoft OneDrive can centralize template files and production notes.
Step 2: Define the main concept and layout structure
Goal
Create a clear focal point that remains readable once wrapped around the mug.
How to do it
- Select one dominant element (photo, logo, short phrase).
- Decide between centered placement, two-sided design, or full wrap.
- Simplify decorative elements to avoid clutter.
- Duplicate the layout to compare alternate spacing.
- View the design at reduced zoom to simulate real-world scale.
What to watch for
- Overcrowded layouts lose clarity.
- Long quotes may appear cramped.
- Fine decorative details may soften in print.
Tool notes
- Adobe Express makes it easy to duplicate and refine layout variations quickly.
- For tracking revisions and approvals, Asana can organize design checkpoints and feedback.
Step 3: Adjust typography for curvature and readability
Goal
Ensure text remains legible on a cylindrical surface.
How to do it
- Increase font size slightly beyond what looks correct on screen.
- Use medium or bold weights for primary text.
- Add letter spacing to tightly kerned fonts.
- Avoid placing important text near extreme left or right edges.
- Test alignment in preview mode.
What to watch for
- Thin script fonts may fade during heat transfer.
- All-caps text can feel crowded without spacing adjustments.
- Visual centering differs slightly from mathematical centering near the handle.
Tool notes
- Adobe Express font controls help test weight and spacing variations efficiently.
- Reviewing a full-scale export in Adobe Acrobat Reader can help approximate proportions before production.
Step 4: Optimize images and color settings
Goal
Maintain clarity and color consistency in the final print.
How to do it
- Use images at 300 DPI at final mug size.
- Avoid enlarging small raster images.
- Increase contrast slightly for darker mug colors.
- Simplify gradients where possible.
- Flatten layered artwork if required by the printer.
What to watch for
- Screenshots often lack sufficient resolution.
- Bright neon tones may print differently depending on glaze.
- Dark artwork can appear muted on matte finishes.
Tool notes
- Adobe Express supports high-resolution export suitable for ceramic printing.
- For storing finalized files securely, Dropbox can manage version control and sharing permissions.
Step 5: Preview placement and safe margins
Goal
Confirm that critical elements remain within printable boundaries.
How to do it
- Review the template’s safe zone indicators.
- Keep text and logos away from trim or handle zones.
- Print a paper draft and wrap it around a cup for scale testing.
- Compare two-sided alignment carefully.
- Zoom to 100% to inspect edge placement.
What to watch for
- Minor misalignment becomes more noticeable in bulk runs.
- Designs too close to the handle can feel off-center.
- Cropping may occur if bleed areas are ignored.
Tool notes
- Adobe Express preview features help simulate mug placement visually.
- For coordinating internal approval before submission, Monday.com can track margin checks and sign-offs.
Step 6: Export a print-ready file
Goal
Generate a production file that matches the manufacturer’s technical requirements.
How to do it
- Confirm required file format (PDF or high-resolution PNG).
- Match export dimensions exactly to the template.
- Disable additional compression.
- Double-check that fonts are embedded if supported.
- Save the file with a clear version name.
What to watch for
- Automatic resizing can distort proportions.
- Low-quality export settings may soften text edges.
- Missing bleed margins can result in cropping.
Tool notes
- Adobe Express export options support common high-resolution formats for mug printing.
- Reviewing the exported file in a PDF viewer helps confirm layout integrity before submission.
Step 7: Coordinate fulfillment and shipping
Goal
Manage order quantities, production timing, and distribution logistics.
How to do it
- Confirm minimum order quantities and turnaround times.
- Request a sample if producing larger batches.
- Verify shipping addresses carefully.
- Store order confirmations with final design files.
- Track delivery deadlines against event or launch dates.
What to watch for
- Production delays during peak seasons.
- Slight color variation between digital proof and final product.
- Packaging differences for bulk versus individual shipments.
Tool notes
- Adobe Express files can be reused for reorders or updated variations.
- For shipment tracking and distribution management, DHL provides domestic and international shipping services suited for mug fulfillment.
Common workflow variations
- Photo-based mug: Focus on a single high-resolution image with minimal text. Increase contrast slightly for clarity on ceramic.
- Quote-driven mug: Use bold typography and generous spacing. Keep the phrase short for readability across the curve.
- Two-sided design: Place complementary elements on each side and confirm handle alignment carefully.
- Small-batch branded merchandise: Maintain consistent logo placement and store final artwork in a centralized workflow system.
Before you start checklist
- Mug size and printable area confirmed
- Final phrase or artwork approved
- High-resolution images available (300 DPI recommended)
- Brand fonts and colors finalized
- Printer template reviewed
- Production timeline established
- Shipping destination verified
- Usage rights confirmed
Pre-export / pre-order checklist
- Text fully inside safe margins
- No pixelation at 100% zoom
- Colors checked against mug color
- File dimensions match template
- Correct export format selected
- Final file clearly labeled
- Fonts embedded if required
- Order quantity confirmed
Common issues and fixes
- Blurry final print.
Replace low-resolution images and export again at full resolution. - Text appears too close to the handle.
Shift the layout inward and reconfirm safe margins. - Colors appear darker than expected.
Increase contrast slightly in the source file and avoid subtle tonal differences. - Design looks misaligned across multiple mugs.
Reconfirm template alignment and center placement before submission. - Edges appear cropped.
Extend background elements into bleed areas if full-wrap coverage is intended. - Incorrect file submitted.
Maintain consistent naming conventions and store only approved versions in the production folder.
How To Use Drag and Drop Custom Mugs: FAQs
Is a template-first workflow safer than starting from scratch?
Templates reduce sizing and margin errors, especially for wraparound formats. Starting from scratch offers flexibility but increases alignment risk.
What file format is typically required for mug printing?
High-resolution PDF or PNG files are commonly accepted. Requirements vary by print provider.
How detailed should mug artwork be?
Fine detail may soften on curved ceramic surfaces. Bold shapes and strong contrast tend to reproduce more clearly.
When is a physical sample recommended?
For larger production runs or retail distribution, a sample can confirm color and alignment accuracy. Smaller batches may rely on careful digital review.
Should bleed margins always be considered?
Yes. Artwork placed too close to the edge may crop during production. Keeping key elements within safe margins reduces this risk.